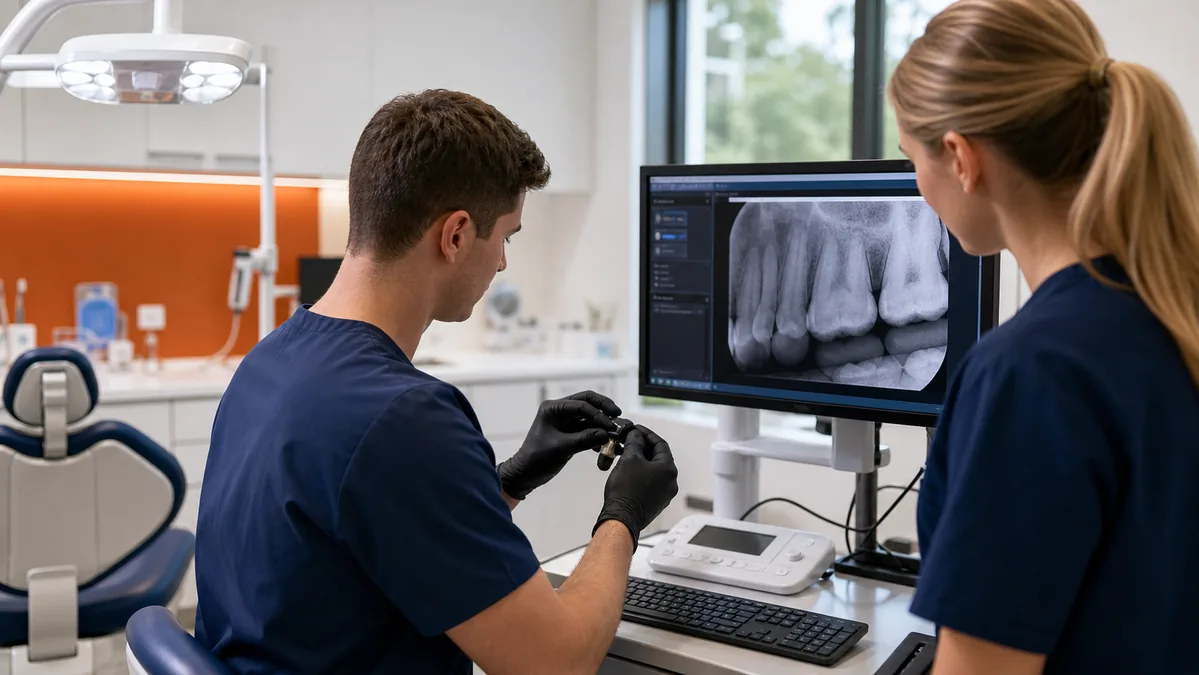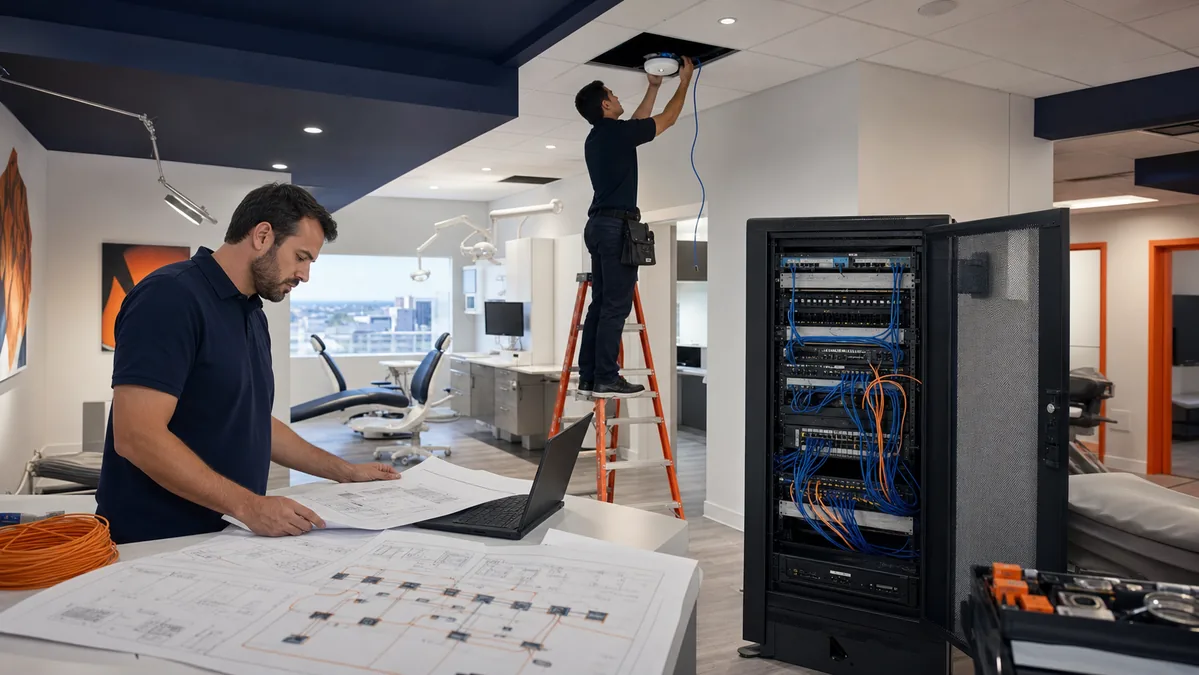
A practice-management conversion touches scheduling, patient records, treatment plans, insurance, claims, accounts, imaging, reports, and every workstation used to deliver care. Open Dental says it can convert from more than 200 dental practice-management systems, but a successful project still depends on infrastructure preparation, clean responsibility boundaries, and disciplined validation.
1. Inventory the current environment
Document the source software and version, server and database, locations, providers, workstations, imaging applications, bridges, sensors, scanners, claims and eligibility services, payment tools, e-prescribing, forms, communications, reports, and third-party integrations. Identify who owns each contract and support relationship.
Capture network and hardware requirements early. Open Dental's network guidance recommends professional help for advanced environments such as multi-location practices, 20 or more workstations, VPNs, thin clients, or virtualization. Verify supported operating systems, storage, memory, backup, and connectivity directly against current vendor documentation.
2. Plan the test conversion
A test conversion lets the team examine representative data before the final cutover. Select reviewers from clinical, scheduling, billing, insurance, and management roles. Give each person specific validation tasks instead of asking whether the data “looks right.”
- Compare patient counts and active/inactive status.
- Review schedules across representative providers and dates.
- Verify balances, insurance plans, claims, payments, and aging.
- Inspect treatment plans, procedures, notes, alerts, and attachments.
- Confirm required reports and totals against an agreed source baseline.
- Test imaging access and every bridge or external application.
3. Prepare servers, networks, and workstations
Complete required upgrades before the cutover window, not during it. Standardize workstation names, user accounts, permissions, antivirus exclusions approved by the vendor, printers, scanners, displays, and operatory device connections. Confirm wired and wireless performance and resolve intermittent network issues.
Document how remote locations connect and whether a site outage affects other offices. Custom VPNs must be encrypted, access-controlled, monitored, and tested under realistic latency. Avoid exposing databases or remote desktop services directly to the internet.
4. Build the final cutover runbook
Set the final data cutoff, conversion handoff, vendor contacts, maintenance window, communication plan, validation sequence, and go/no-go authority. Record which system remains the source of truth at every stage and how staff will handle appointments, payments, images, and clinical documentation if the window runs long.
Protect the source system and keep a verified backup according to contractual and retention requirements. Do not decommission the old environment until the practice, vendors, and legal or record-retention owners have approved the plan.
5. Validate before normal operations resume
Repeat the agreed test script against the final conversion. Confirm user access by role, provider and location mappings, schedules, balances, claims workflows, reports, prescriptions, imaging, bridges, printers, scanners, backups, and remote access. Log every exception with an owner and severity.
Open Dental publishes a post-conversion checklist covering settings and data areas that may need review. Use the current vendor checklist together with practice-specific workflow tests; neither replaces the other.
6. Stabilize and document the new environment
Expect questions after go-live. Establish a triage process so the team knows whether to contact Odyssey, Open Dental, the imaging vendor, the clearinghouse, or another provider—and lets Odyssey coordinate issues that span boundaries. Update the asset inventory, network diagram, backup documentation, access matrix, vendor list, and downtime plan.
Official Open Dental resources
- Open Dental: Conversions
- Open Dental: Post-Conversion Checklist
- Open Dental: Computer and Network Setup
Product requirements and conversion procedures change. Confirm current instructions with Open Dental. Odyssey is not Open Dental and does not claim vendor authorization by naming the product.
Related resources